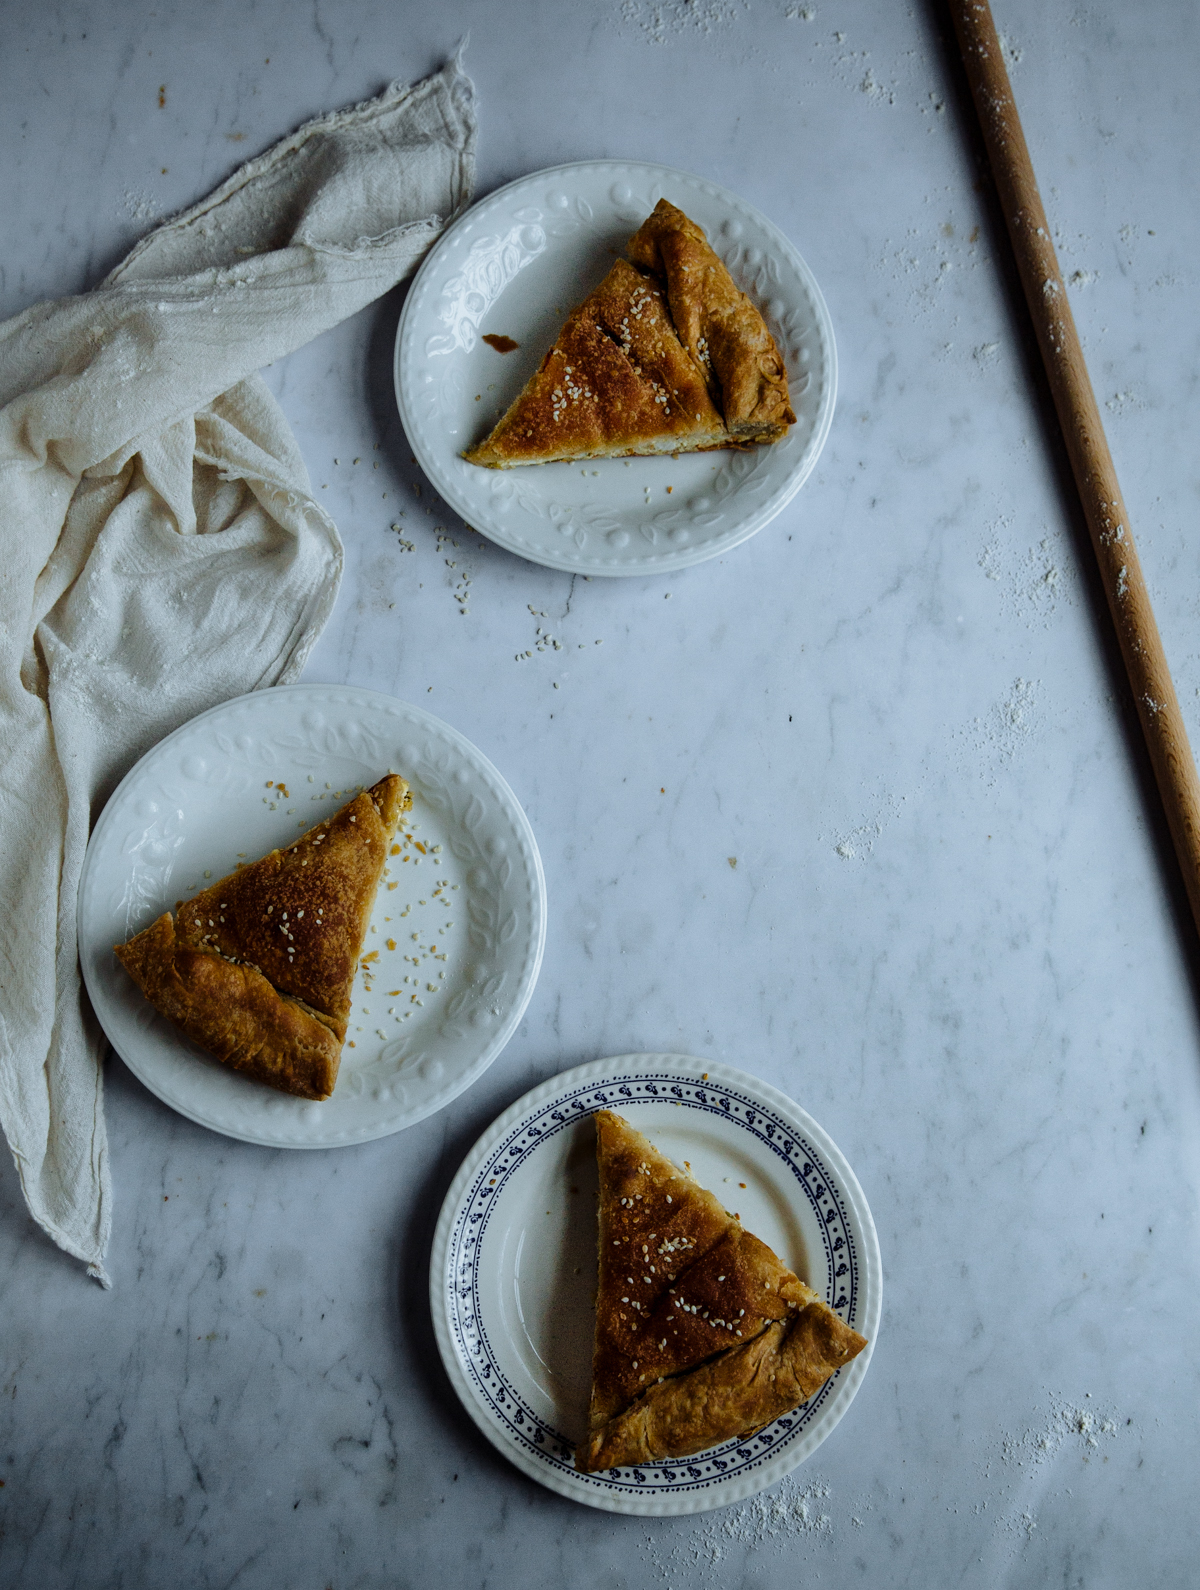
This feta, spring onion & dill pie (tyropita) is always one of my favourite things to make from scratch. Bear with me, it’s so worth it!
As I’ve mentioned here, making Greek pies from scratch is my favourite thing and the one ambition I’ve had since I clumsily, impatiently started cooking. For some it’s a soufflé, the perfect omelette or an elaborate cake with many layers and fluffy, smooth frosting. I certainly wouldn’t mind perfecting all of the above, especially a cake (my impatience usually gets the better of me and I somehow end up slathering the frosting on and hope for the best).
Yet pies are really where it’s at for me: it’s not only about taste, that perfect balance of saltiness, mixed with fresh herbs; I mostly love the simple, humble art of rolling out the perfect (or, usually, not so prefect) filo, thin as the finest muslin dusted with flour, ever so delicate and rustic at the same time. It always brings back memories of time spent in our summer house, where our days and nights revolve around harvesting goods from our garden, cooking in the large, dark kitchen, tasting and planning our next meal. Our stay there always involves making pies from scratch, taking advantage of our ample space and blessed gardens.
It’s there I had my very first attempts, which left me and our large wooden kitchen table covered in flour, olive oil and sometimes sesame & nigella seeds. Making the dough is a child’s play, yet rolling it out requires patience and, most of all, doing it over and over again, just enough for your hands to move like they should: spreading the dough, wrapping it softly but confidently around the thin rolling pin and pressing to spread it until very thin.
Even now, after all the (not so many) pies I’ve made, I’m still a beginner. I still haven’t managed to roll out filo sheets the way a family friend does: nonchalantly, confidently, in such speed and manner and technique- all of which stemmed simply from experience. So I’ll keep rolling and stretching, wrapping and dusting with flour, messing up and still layering filo after filo. Even if it’s not perfect, it’s still pie and this is never ever a bad thing.
You can find so many different fillings and doughs for cheese pies- puff pasty is frequently a favourite and even though a variety of cheeses (white and yellow, hard and soft) can be added, feta is almost always present. I usually combine it with ricotta and I love to add fresh dill and spring onions, as I find that cheese alone make for a less interesting flavour. The eggs make the filling heartier and tie everything together, so don’t leave them out.
tips:
* have lots of extra flour and extra virgin olive oil at hand when rolling out your dough; each piece will require a lot of flour so it doesn’t stick and tear and once rolled out, you’ll need to drizzle it with plenty of olive oil.
* I’ll be posting videos in my stories today on how to roll out the dough- it’s not rocket science, but does require a certain technique. You may not succeed at once, but keep going; the filo will most probably tear, but that’s fine. It will still taste delicious and lovingly wrap your filling.
* Don’t forget to cut your pie before placing it in the oven; not all the way down, just enough to help the filling cook through, and allow you to cut it easily after it’s done.
Feta, spring onion & dill pie (tyropita)
WHAT
for the filo pastry (if you are making it- you can always use store-bought, but I recommend trying it, even just once)
600g all purpose flour
1 scant teaspoon salt
2 tablespoons extra virgin olive oil
1 tablespoon white wine vinegar
about 400ml water
for the filling:
400g feta, crumbled
200g ricotta
6 spring onions, thinly sliced
2 tablespoons fresh dill
3 tablespoons low fat Greek yogurt
4 medium eggs
1/4 teaspoon ground nutmeg
freshly ground black pepper to taste
salt (optional, depending on the saltiness of the feta, I didn’t use any)
additional:
about 250ml extra virgin olive oil
about one cup all purpose flour
sesame and/ or nigella seeds (optional)
HOW
- Start by making the fill pastry: in a large bowl, combine the flour, salt, olive oil and vinegar and start adding the water gradually. You need enough to form a soft dough, incorporating all the flour.
- Knead with your hands to smooth it, adding a little water or flour if needed. You’ll ned to end up with a dough that’s soft and quite loose.
- Shape into a bowl, cover with a tea towel and let it rest for about 30′, while you prepare the filling.
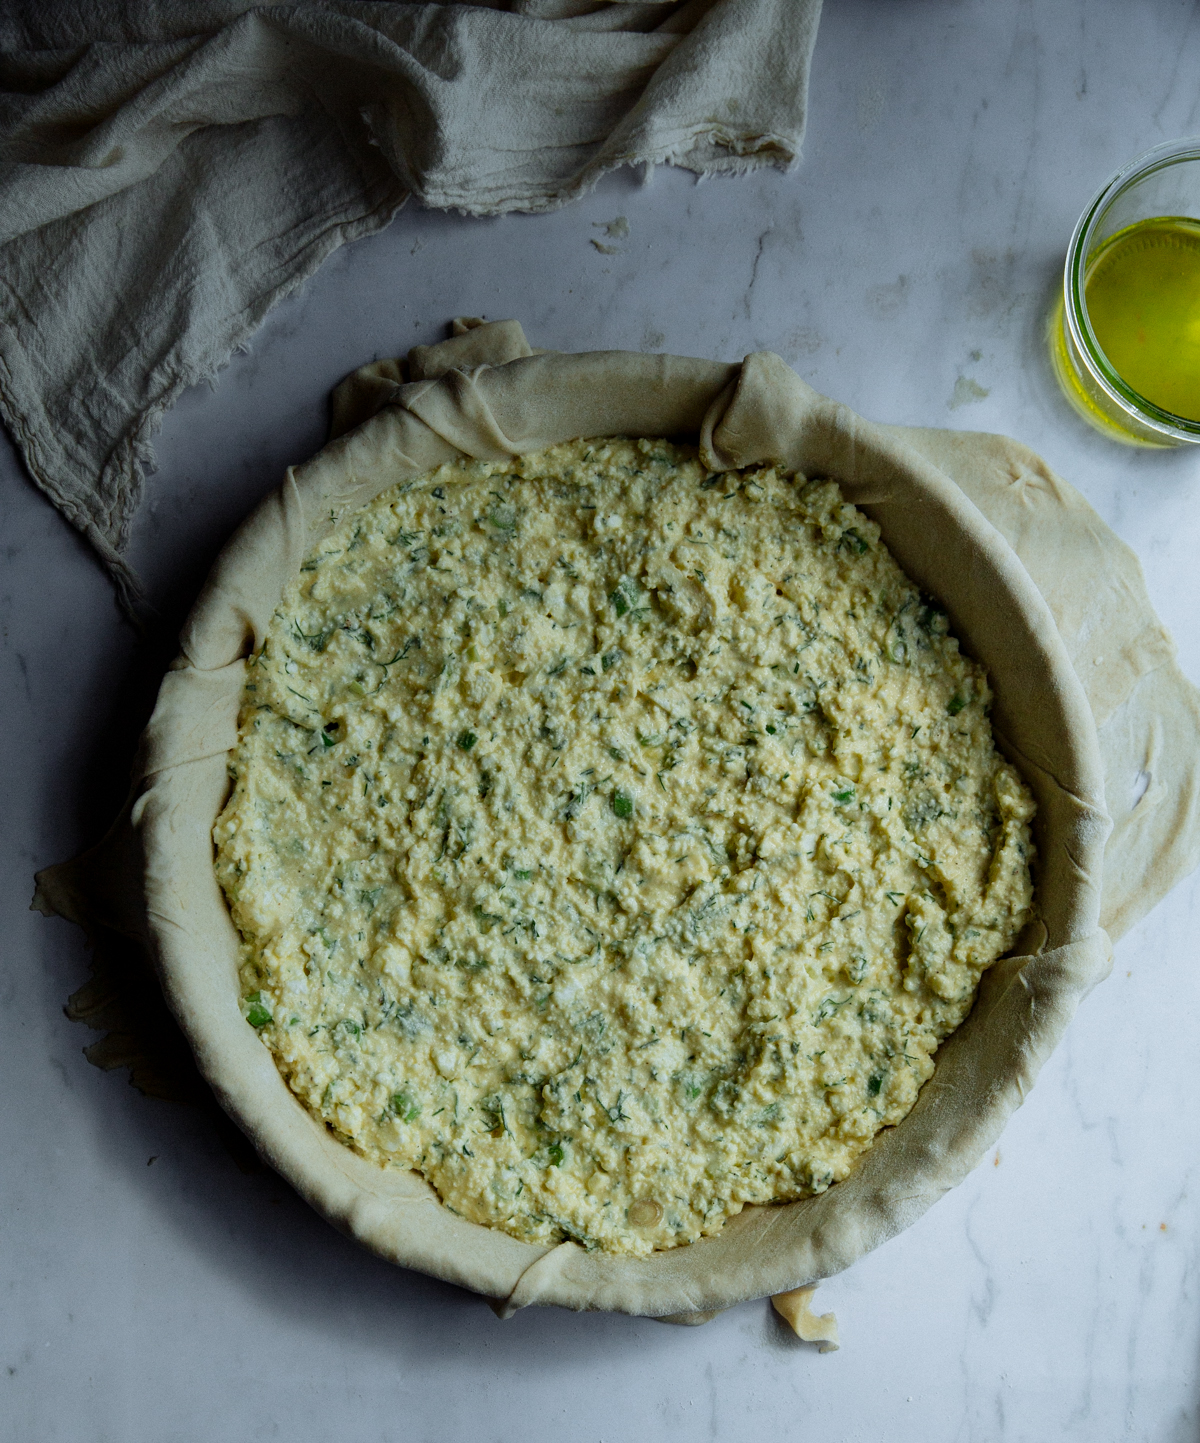
- Combine the feta, ricotta, spring onions, dill and yogurt in a large bowl. Beat the eggs and add them to the mixture, along with the nutmeg, black pepper and salt (if needed).
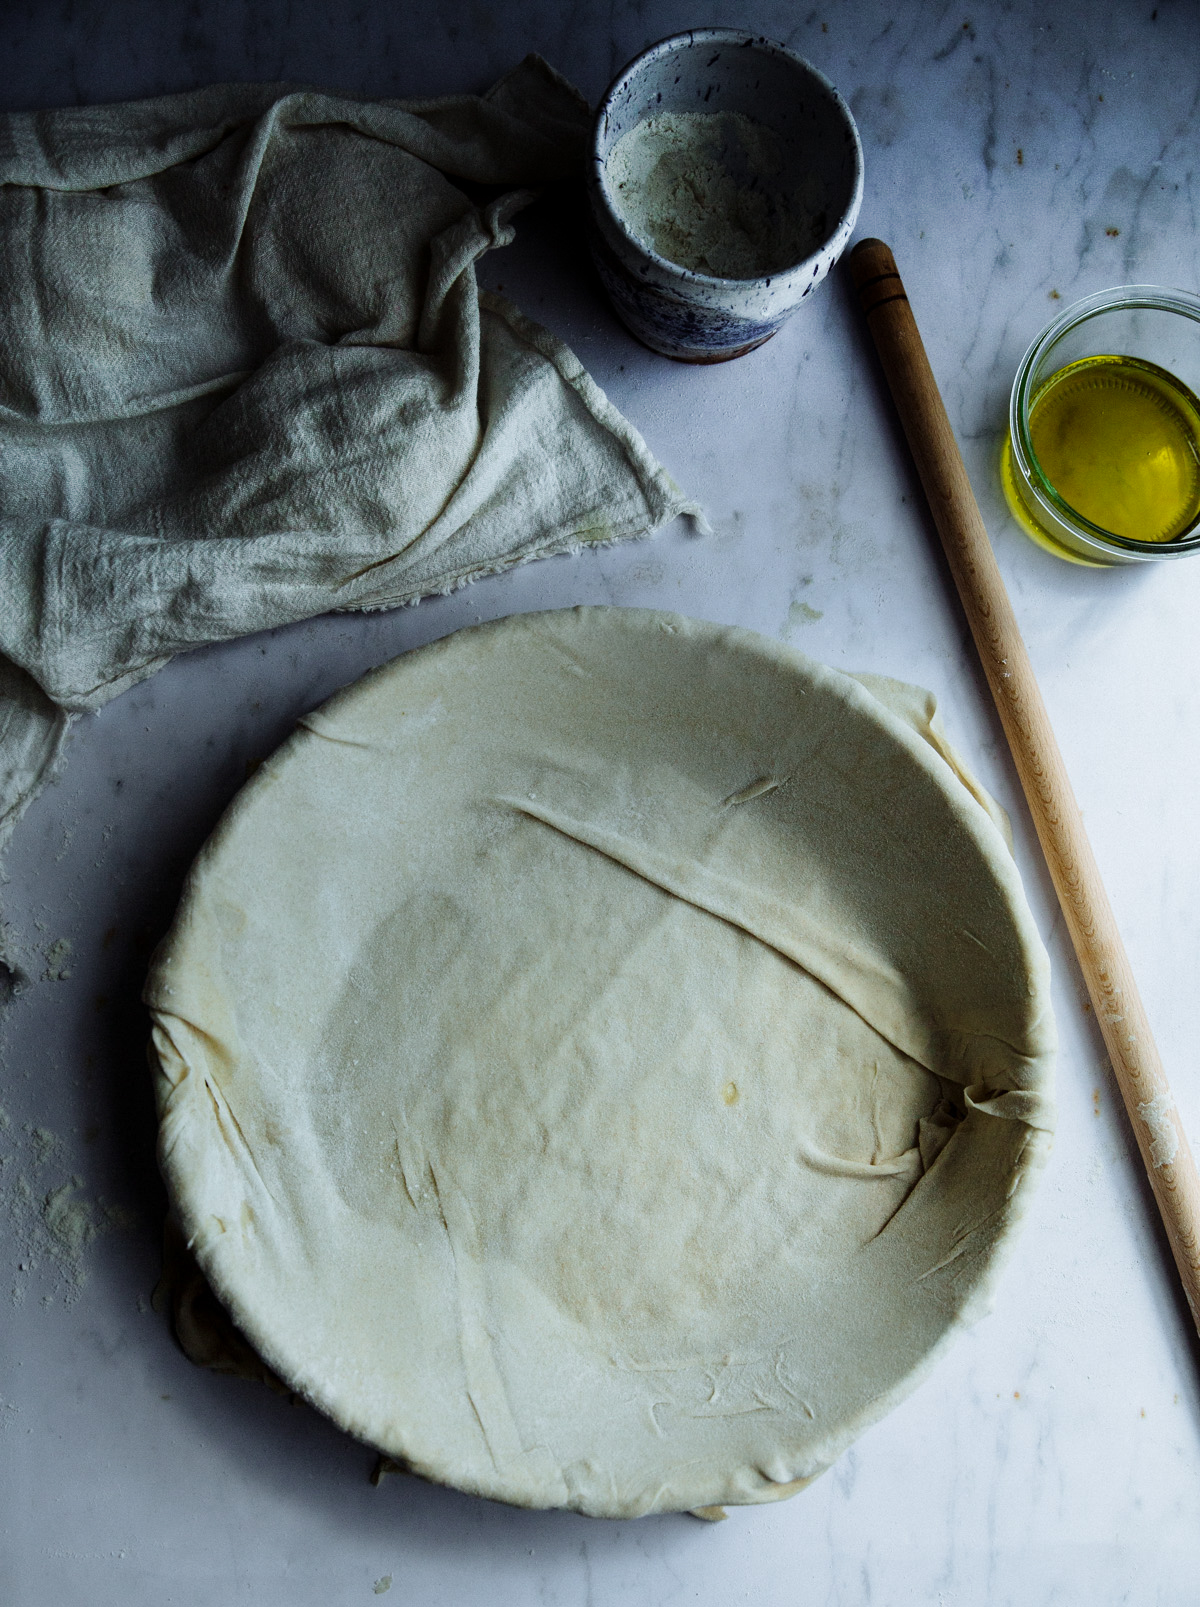
- Preheat the oven t0 200ºC (180ºC FAN) and prepare to roll out your dough: divide into 6 equal pieces and shape into balls. Take one ball of dough (keep the rest under a tea towel so they don’t dry out), flour you work surface and rolling pin and first flatten your dough with your hands, until it roughly has the perimeter of a large plate. Then use the rolling pin and roll out the dough a few times, turning it halfway each time, so it is rolled out evenly (remember to keep your surface, rolling pin and dough floured to prevent from sticking). Following this, carefully roll the edge of the rolled our dough over the rolling pin and wrap around it. Place your hands at the center of the rolling pin and as you roll, move outwards so that both the rolling pin and your hands are spreading out the dough. Carefully unroll (you may have a few tears at this stage, but don’t worry, you can cover them later), turn halfway and roll again. Continue like so, until your filo is very thin, almost transparent and a little wider than your pan, so it overhangs when you layer it.
- Brush the bottom of a round pan with olive oil and layer the first filo, by gently wrapping it around the rolling pin and lifting it. Unroll over the pan and gently push towards the sides. Drizzle with olive oil using a brush and continue like so with the other two balls.
- Spoon in the filling and smooth with the back of your spoon; then cover with the remaining 3 balls, rolling them out as before and drizzling olive oil over each one.
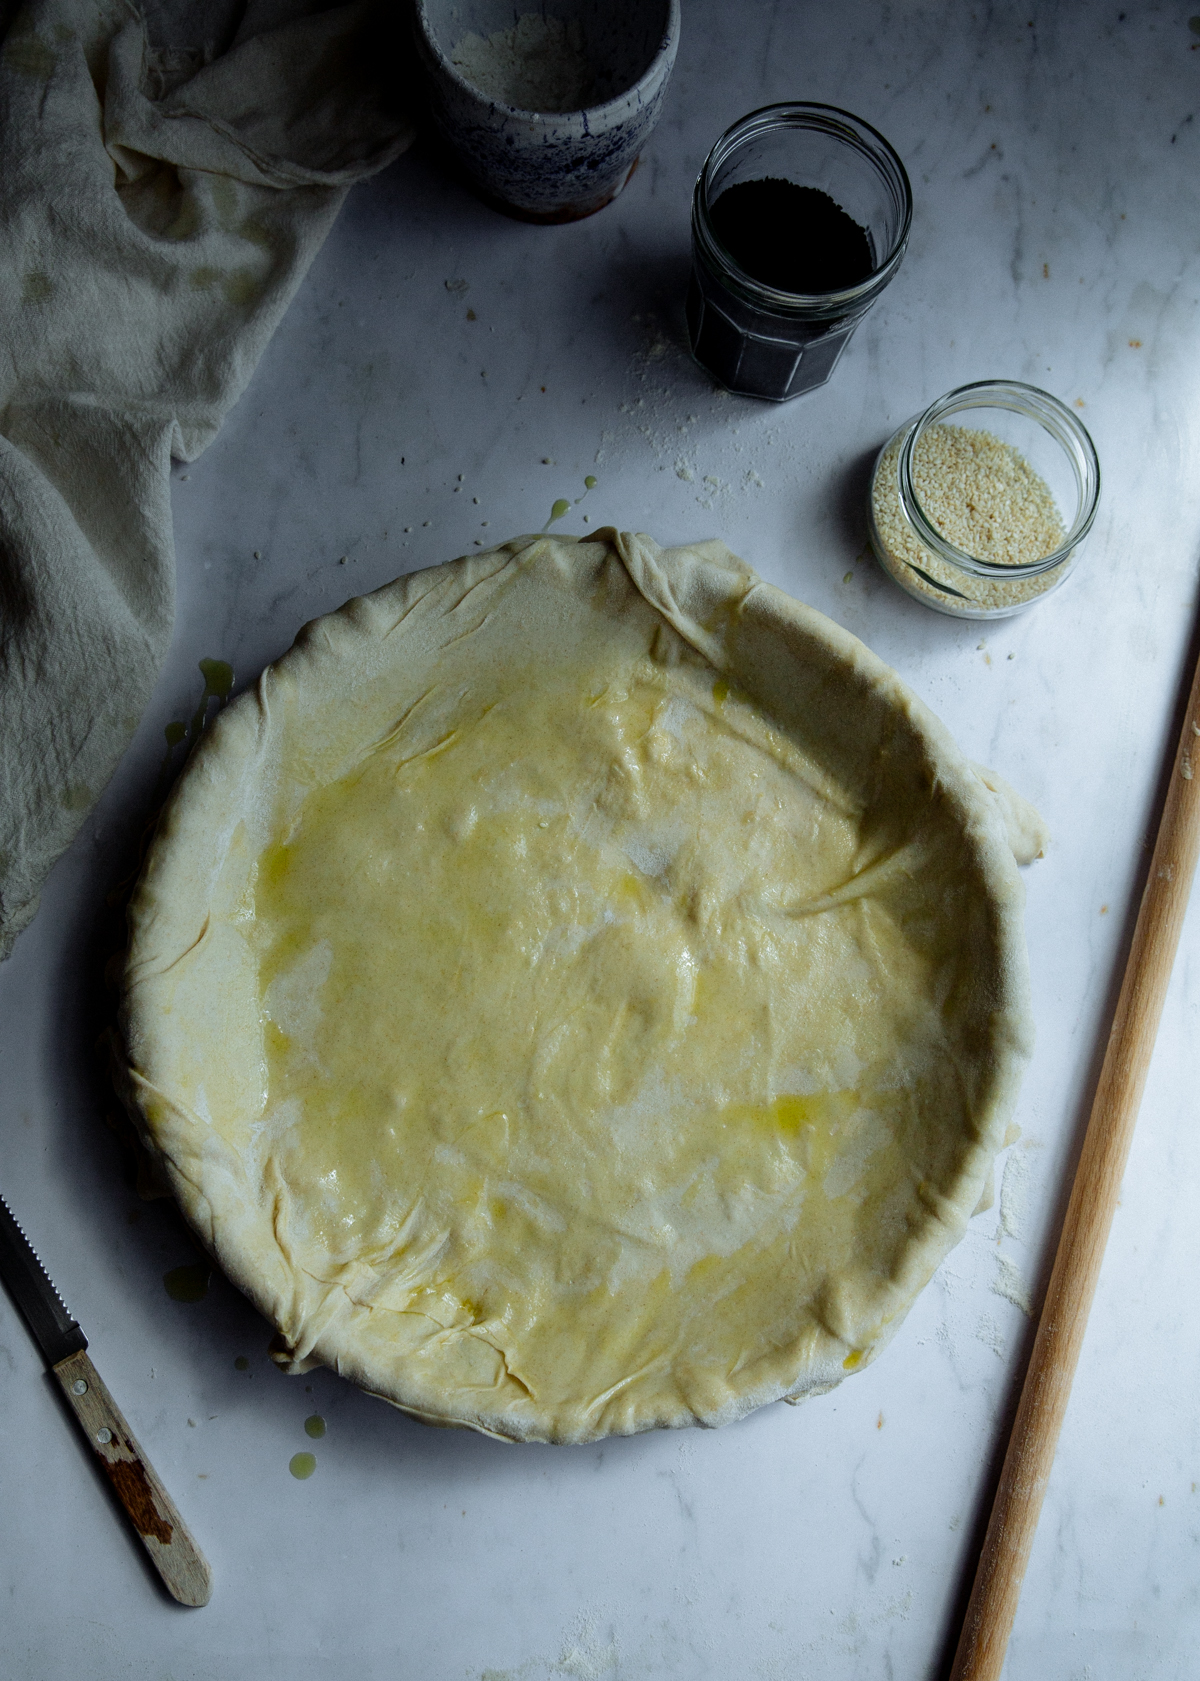
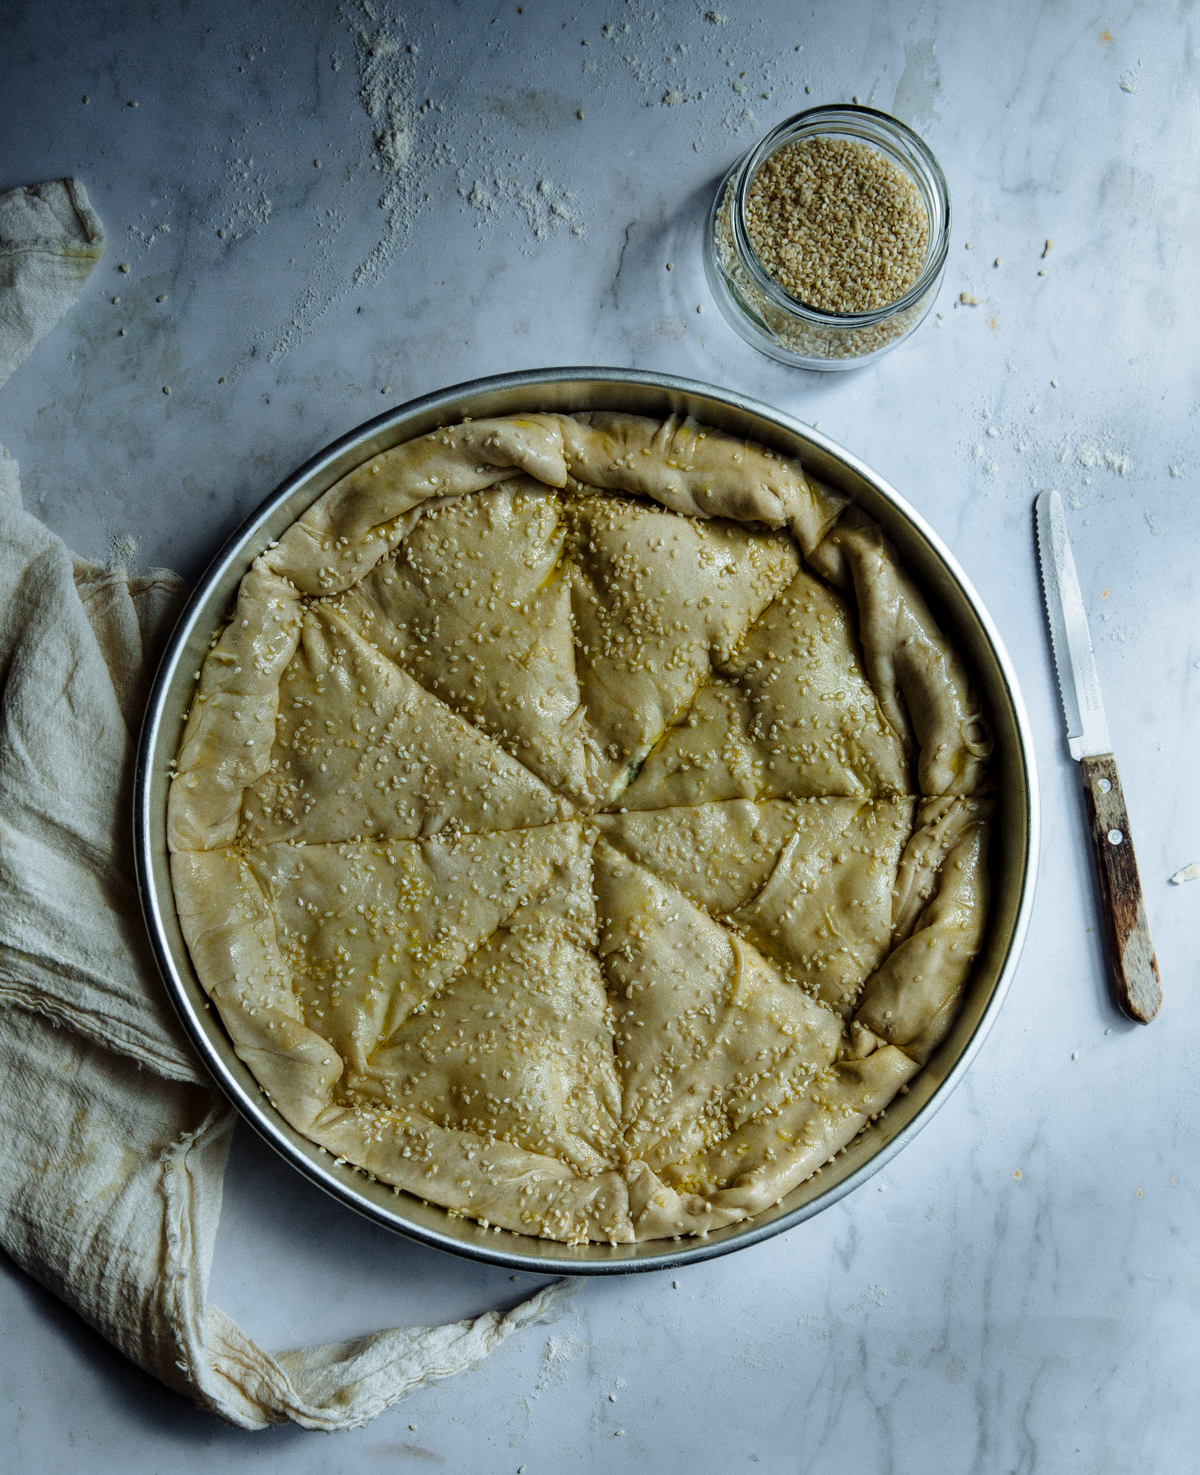
- Trim the overhanging filo slightly and then tuck them inwards. Brush the top generously with olive oil, sprinkle with sesame seeds (if using) and cut the pie in which ever way you want- you don’t want to cut all the way down, just enough to help it cook through and help you cut it once baked.
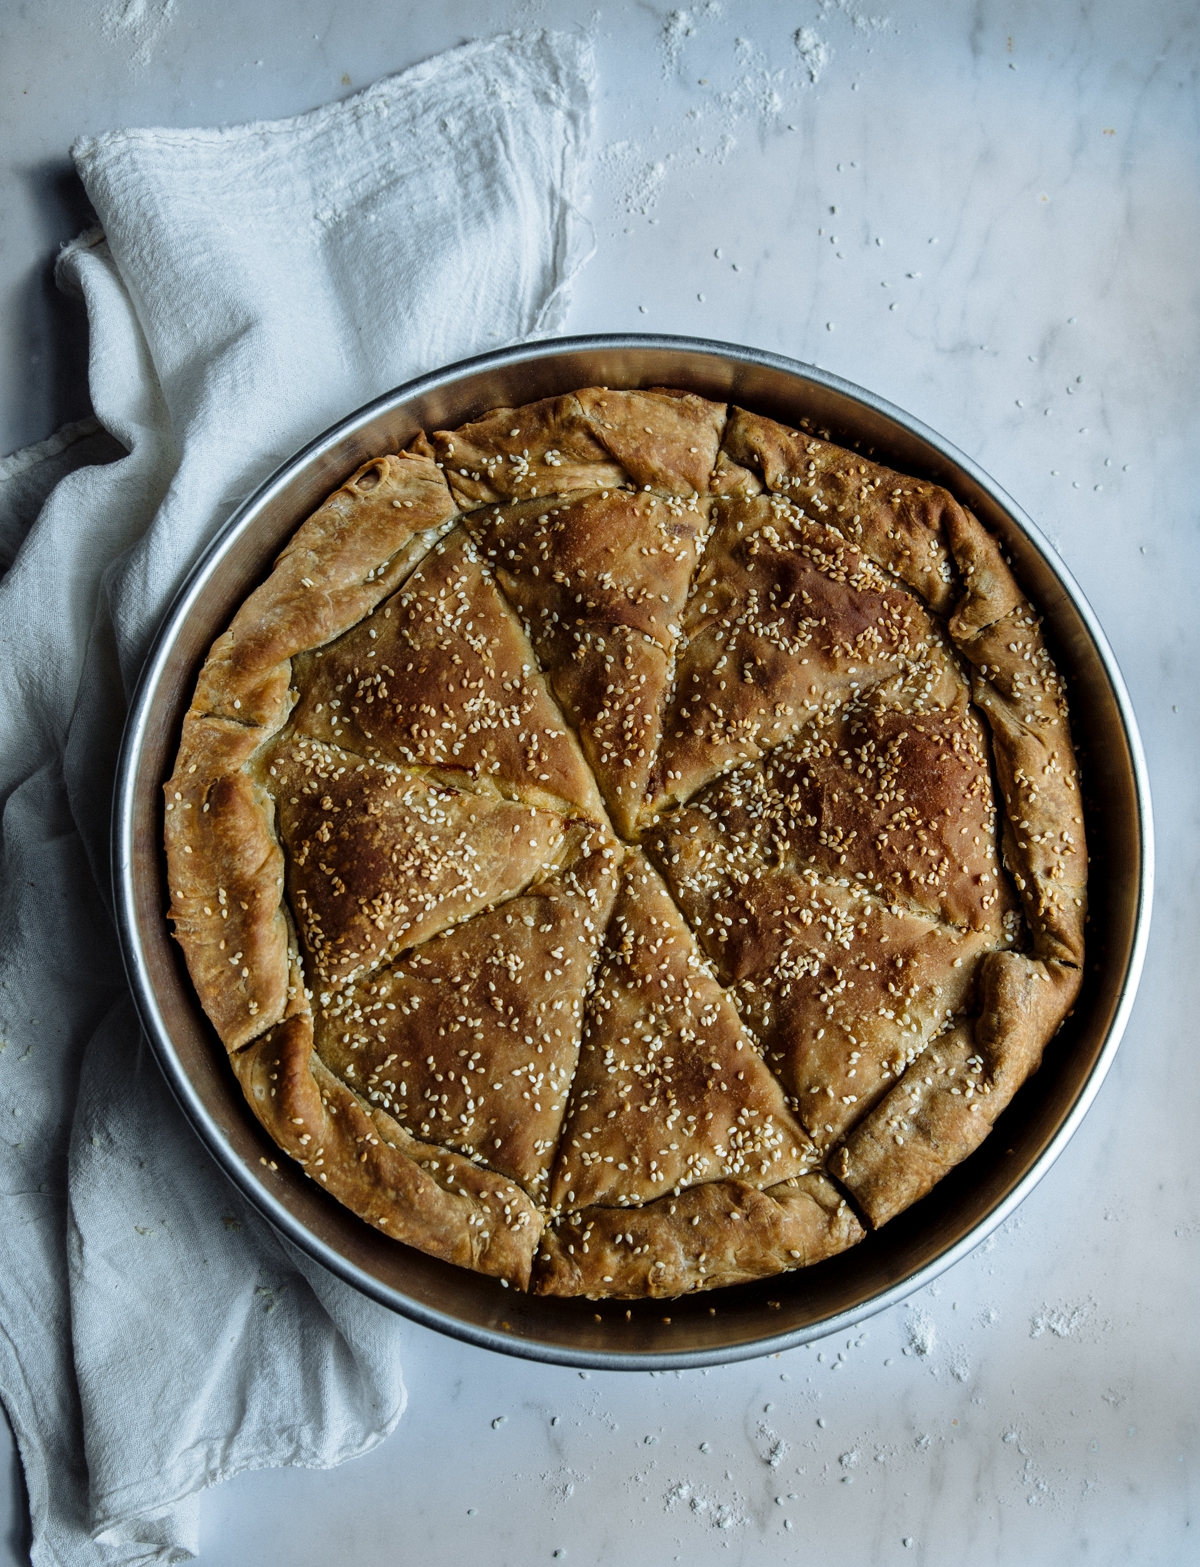
- Bake in the preheated oven for about 20′, then lower the heat to 180ºC (160ºC FAN) and cook for another 45′, covering with foil if it browns too much.
- Remove from the oven and let cool- ideally for at least an hour. Cut and serve.