Buttery and crumbly on the outside, juicy, red and perfectly sweet on the inside- a damn summery, damn fine cherry pie indeed!
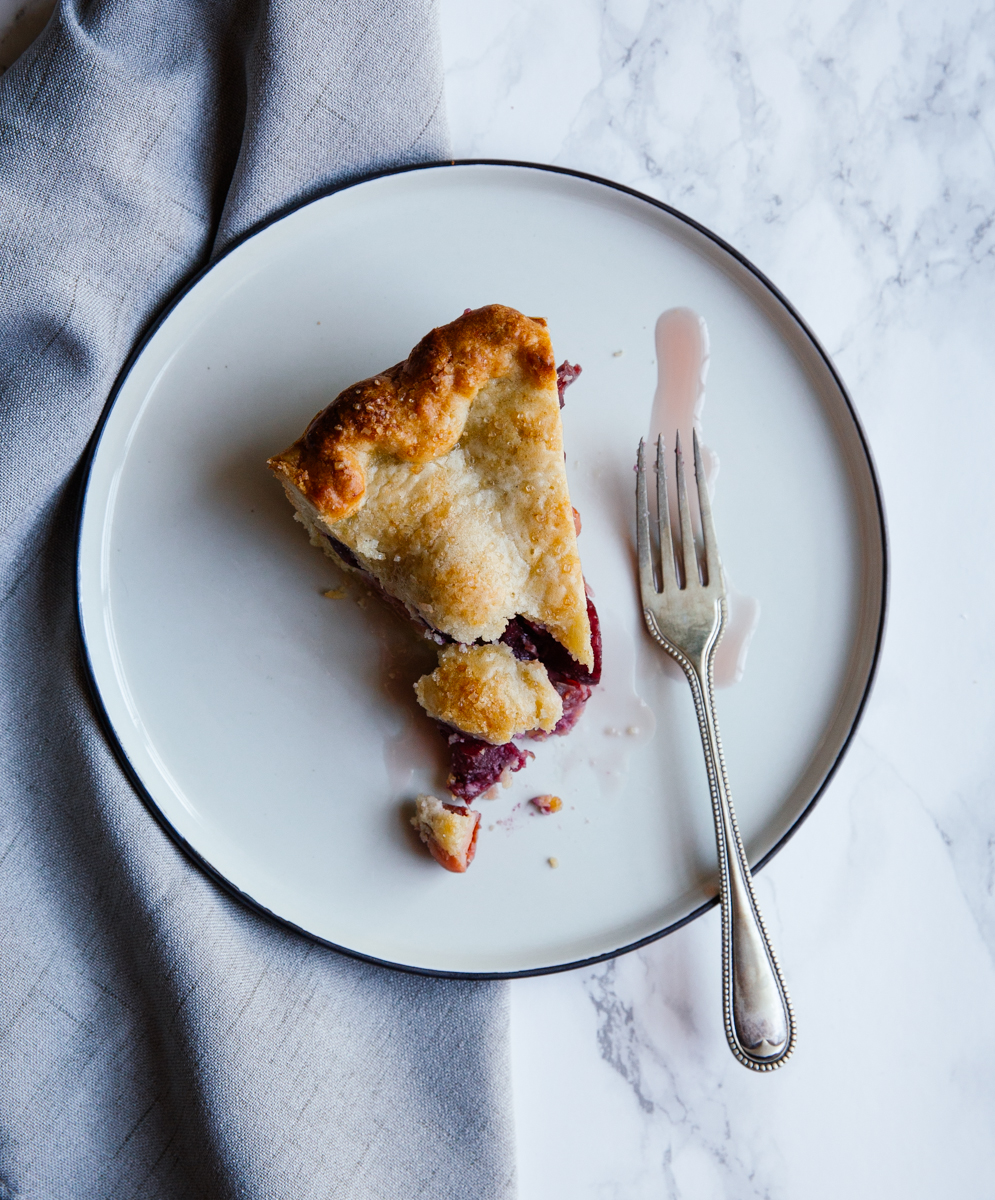 Pies with buttery, sugary crusts bursting with fruity, juicy fillings are amongst the things I most love to make; there is a bit of challenge to them, which is always a good thing, while also welcoming experimentation with so many different ingredients and flavours. Apples and pears are impossible to resist in gloomy, rainy, autumn days and cherries are a gift that keeps on giving in the summer. For this damn fine cherry pie, I have worked with Madame Gâteaux– she is not only amongst the people I most love to be with, she’s also my baking fairy godmother. She’s taught me every decent thing I know about baking- and without cringing even once at my questions, comments and suggestions. Without further ado, here’s her tips and secrets for the best damn fine cherry pie you’ve ever had in your life!
* find the original recipe, inspired by the insanely cool Twin Peaks, here.
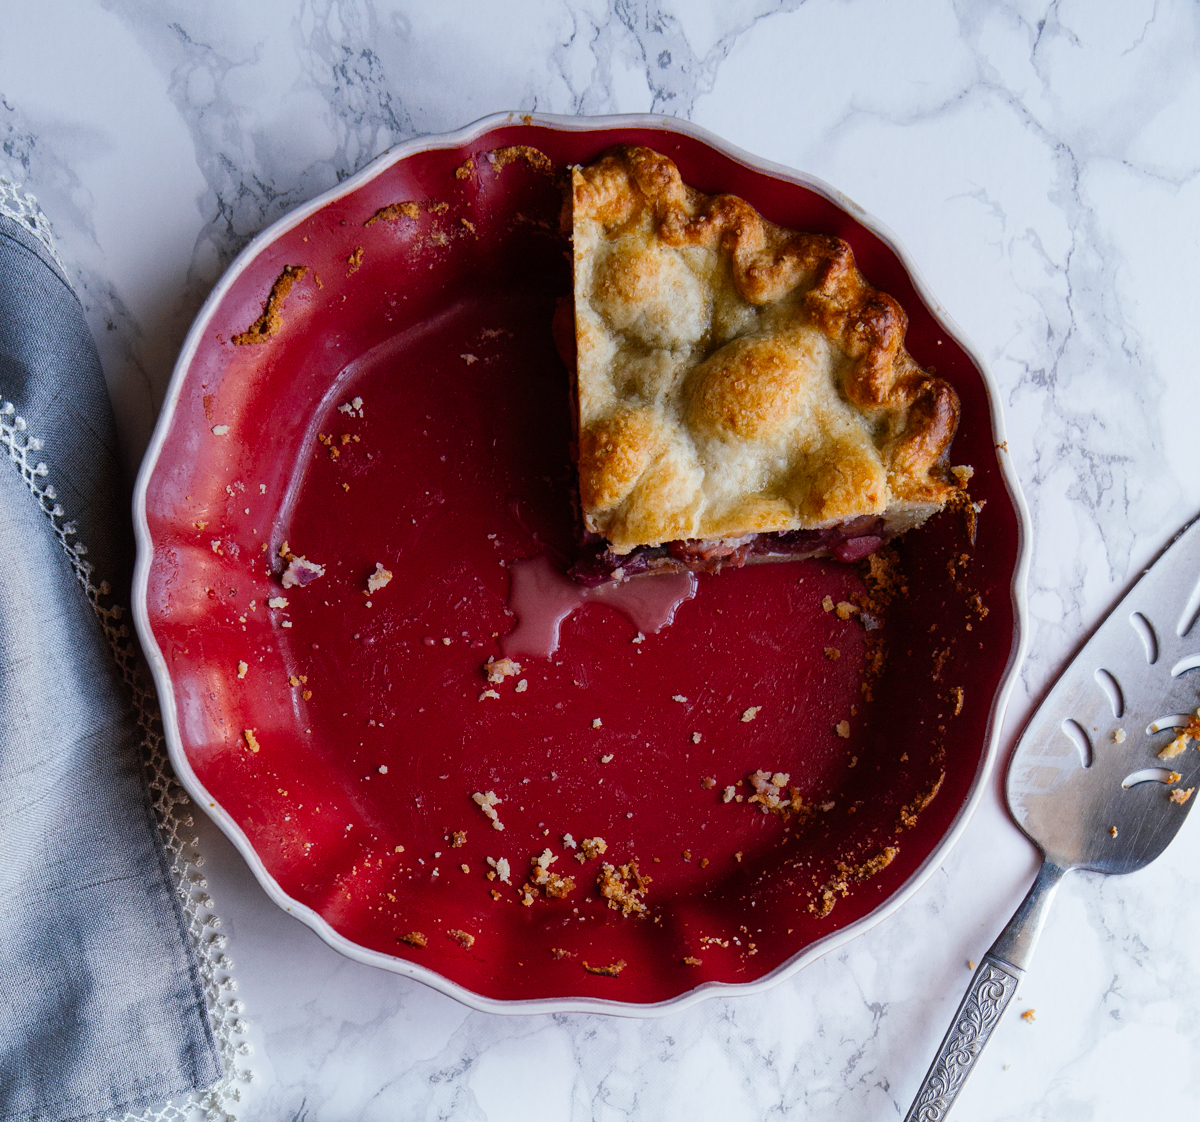
Tips for Baking an American Pie
- The dough
When it comes to pie dough, everyone has their own preferences as to what kind of fat to use. For me, butter gives the fullest flavour and also results in the best shape. When your dough is ready, it is important to chill it for at least 30′ (always wrapped it in cling film, so that it doesn’t absorb any moisture from the fridge). This way, the gluten strands have time to relax, which minimises the shrinking of the dough during baking. The second reason is that you want the dough to get cold, so that it’s easier to roll it out. Also, the butter will firm up and that way it will melt slower in the oven and your pie will hold its shape better.
If your dough it too firm to roll when you take it off the fridge, leave it out for a few mintutes to allow it to come back to room temperature. When you roll out your dough, always sprinkle a little flour on your bench and on your rolling pin. Every time you roll, slide your hand under the dough and turn it around, so that you make sure it won’t stick on the bench. When you’ve rolled it out, wrap it loosely around your rolling pin, instead of picking it up with your fingers, and transfer it safely into the pie dish.
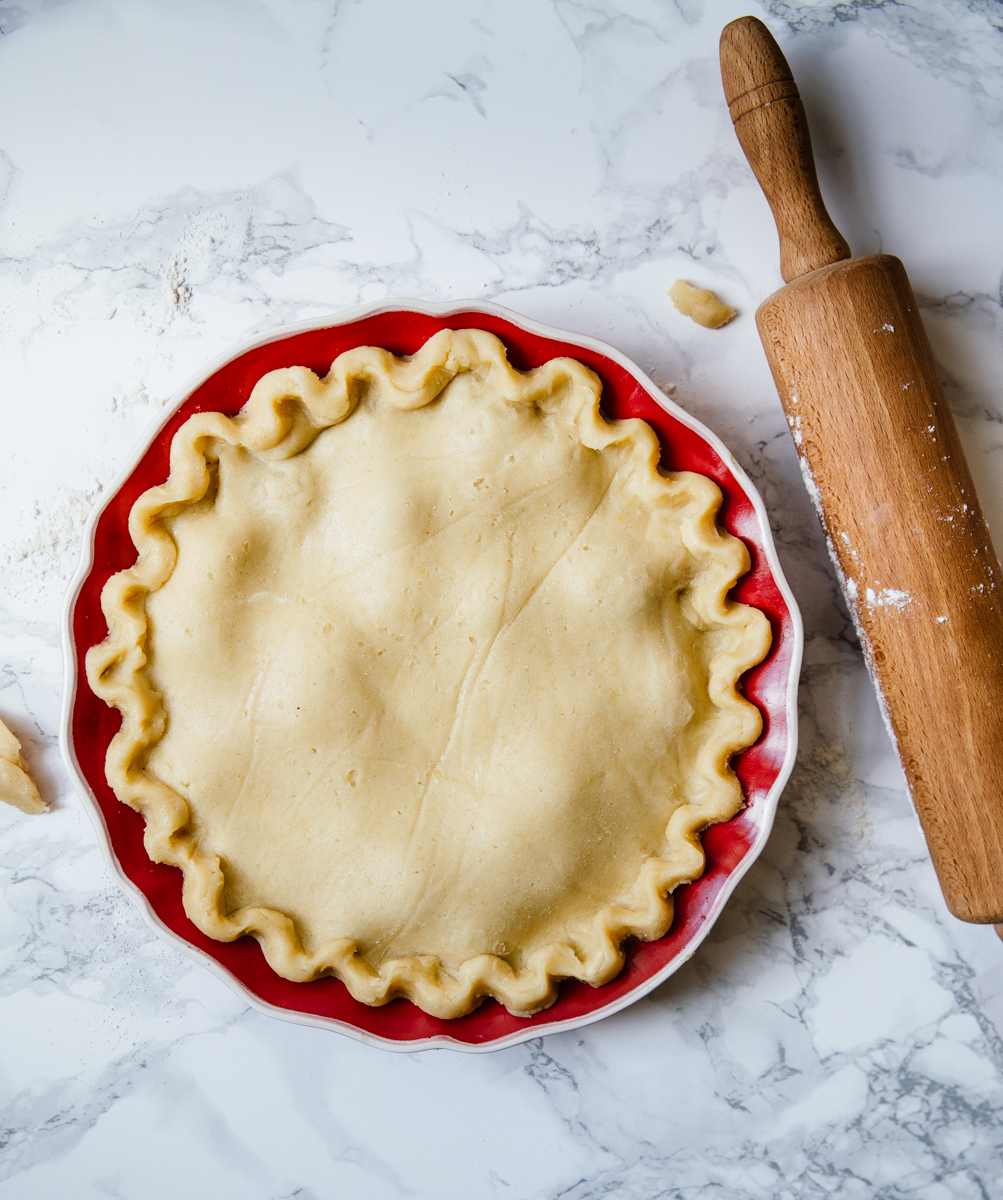
Once the dough is in the pie dish, it is important to make sure it touches on the sides of the dish. You mustn’t press it with your fingers: the easiest way it to cut a small piece of leftover dough, roll it into a little ball and use it to push the dough around the edges of the dish.
Once you’ve placed your dough in your dish, take your rolling pin (not a knife) and roll it on the surface of the dish to get rid of the excess dough around the rim– and voilà!
2. The filling
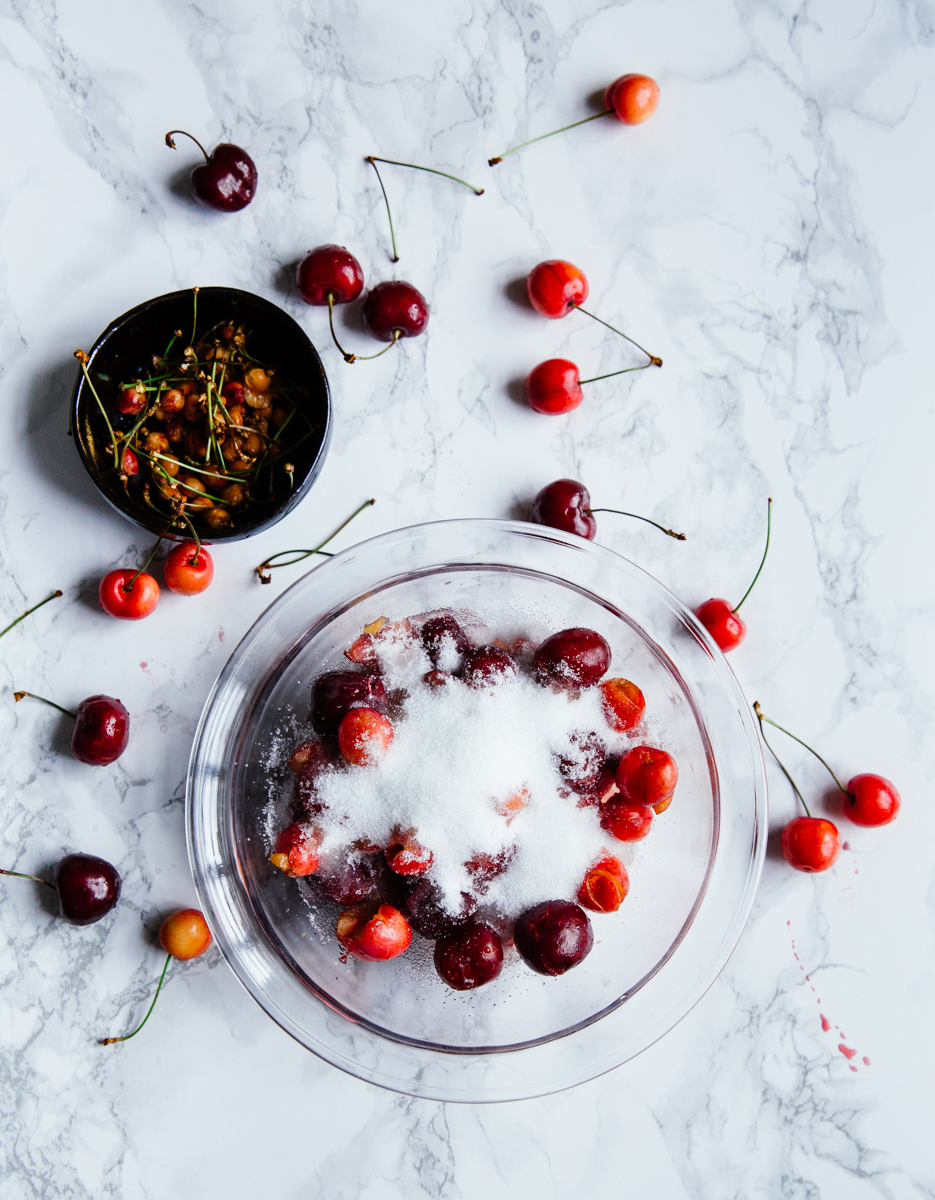
Taste your fruit! Not all fruit is equally sweet and just because the recipe gives you a sugar amount, it doesn’t mean it is written in stone. If you feel that your cherries are not very sweet, add a bit more sugar.
The most common problem with American style pies, is that because there is no blind baking as with a tart, the moist filling often results in a soggy bottom crust. There are a lot of ways to avoid that. First of all, once you’ve put your dough in the dish, place it in the fridge until your filling is 100% ready. Have your top dough ready to go on the side as well: that way, once you fill and cover the pie, you are ready to start baking it straight away, before the wet filling starts moistening the dough. Secondly, keep an eye on your filling itself: fruit oozes moisture when it bakes, so you need to help it retain it. In this recipe, we use cornflour, to make our filling thicker as it bakes. There are other ways – you can cook the sugar with the cherries, so that the syrup thickens- but this one is faster and simpler.
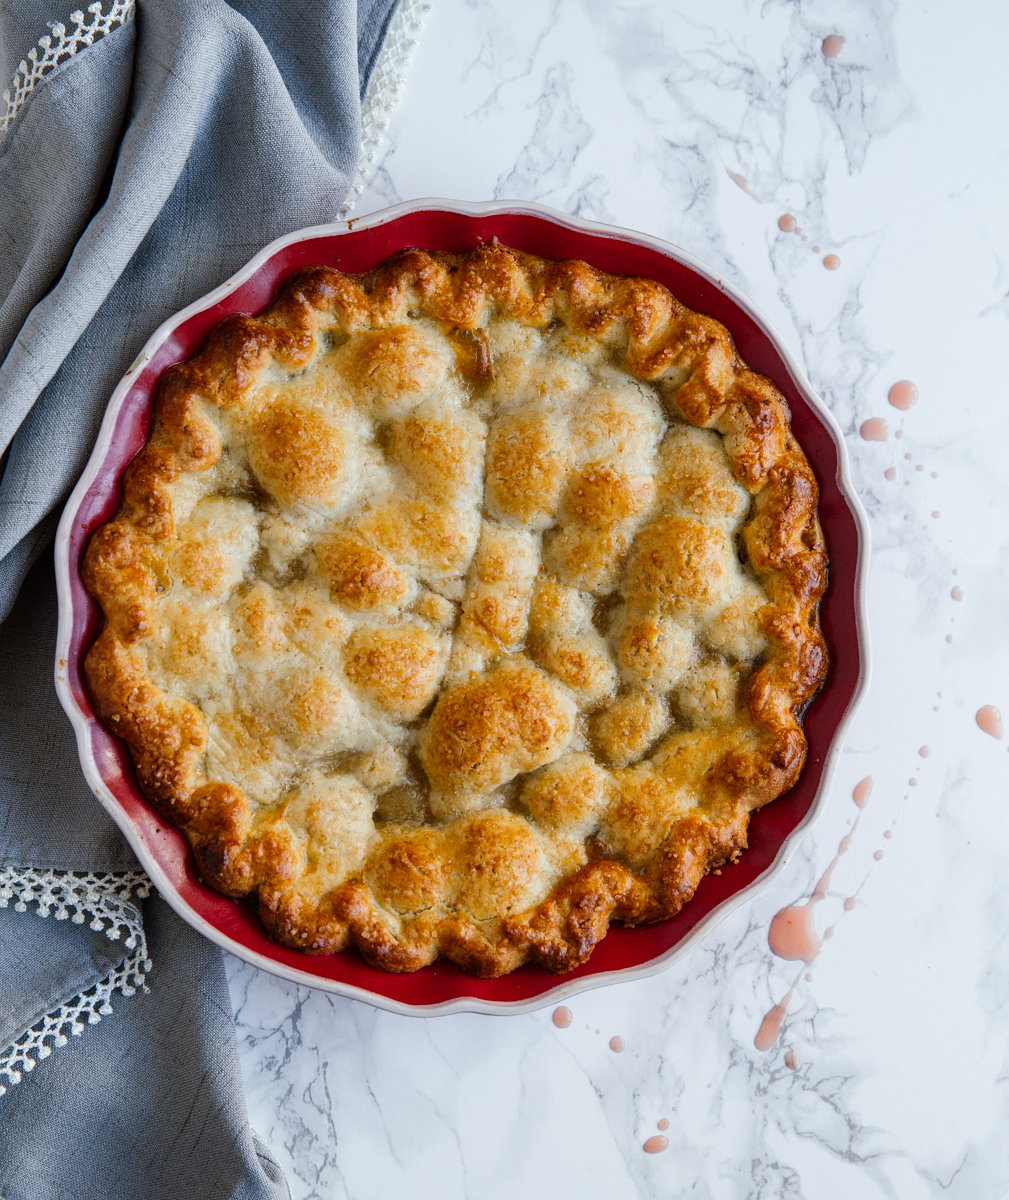
3. The lattice (which I didn’t do, because I’m lazy and it was too hot)
There are many ways to decorate a classic American fruit pie, but I consider a lattice to be the prettiest, and you can make it as simple or as elaborate as your want. To make a classic criss cross lattice:
Roll out your top dough and cut out 10-12 strands (it’s perfectly ok to use a ruler for this!)
Place all the horizontal strands on the filling. Take the first vertical one and starting from the top of the pie, place it on top of the first horizontal strand, under the second, on top of the third etc, lifting the horizontal strands and repositioning them as you go. It sounds more complicated that it actually is- it is in fact pretty easy when you are actually doing it.
Make an eggwash, by mixing an egg with a little bit of water and brush the top of the pie without missing any spots, otherwise you’ll get discoloration during baking.
4. The baking
Always bake in a preheated oven, so that you know exactly what temperature it is when you start baking.
Bake the pie in the middle of the oven and remove any other racks or trays from the oven that are taking the heat away from your precious pie!
If your pie starts colouring too fast while baking, cover it loosely with foil and perhaps move it to a lower rack.
If you want a super glossy pie, you can double glaze it with the egg wash. Do that the second you have taken it out of the oven, so that the egg cooks.
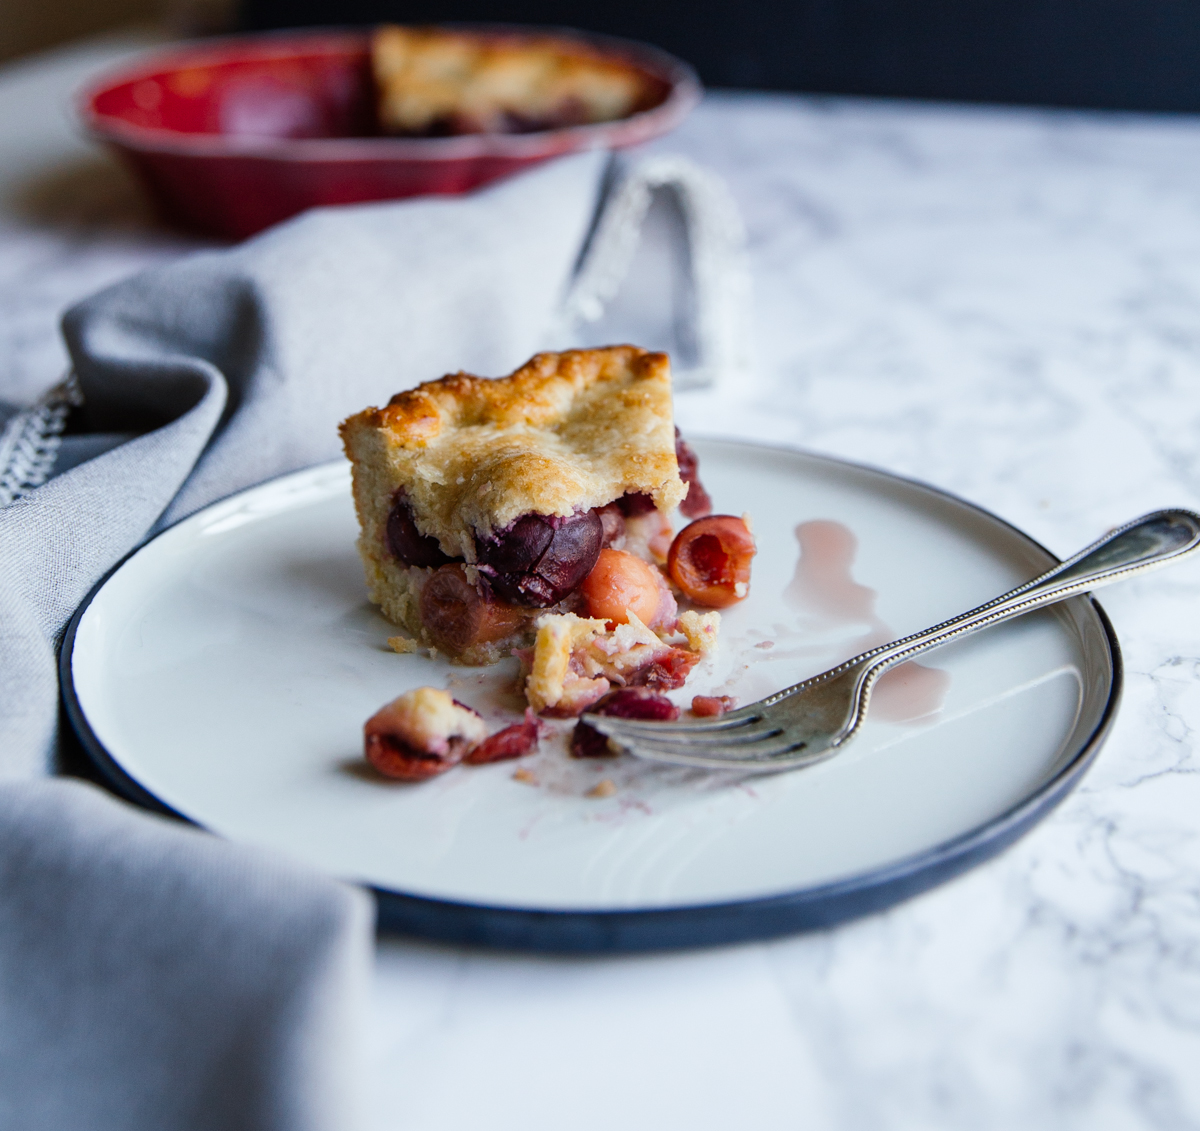
Damn fine cherry pie
WHAT
for the crust:
250 gr flour
50 gr almond meal
75 gr egg (less than two medium eggs)
75gr sugar
185 gr unsalted butter, at room temperature
zest from 1 lemon
1teaspoon vanilla essence
for the filling:
1kg cherries (I only had 750gr, a mixture of cherries &, and my pie turned out fine)
40gr corn flour
150 gr caster sugar
1 heaping teaspoon almond extract
to finish: 1 egg yolk (or just use the remains of the two you’ve used) & a good sprinkle of demerara sugar (Not in the recipe, but was suggested to me by Calliope in the past and I love it- it gives the crust a beautiful shine and delicious slight crunchiness.)
WHAT
1. Preheat the oven to 180C; combine the flour and almond meal and set aside.
2. Beat the butter and sugar in a stand mixer fitted with the paddle attachment until soft and fluffy. Add the egg, lemon zest and vanilla extract and the fold in the flour and almond meal. Beat until the mixture comes together and start pulling from the sides of the bowl. Once ready, shape into a ball, wrap well in clingfilm and place in the fridge for 30′.
3. Pit the cherries and toss gently with the corn flour, sugar and almond extract. Place on a collander and allow them to release all their juices.
4. After 30′, take the dough out of the fridge and half; place one half back in the fridge and roll out the other in a circle, 3mm thick and big enough to cover boththe base and sides of your pie dish. Place in the fridge while you are rolling out the remaining dough.
5. Roll out the remaining piece of dough either making a lattice pattern (see above, note #3) or simply repear what you did for the bottom half (in which case you will need to score four slits in the middle of your pie).
6. Take the pie dish out of the fridge, add the cherry filling and top with the second piece if dough, in which ever form you’ve chosen.
7. Brush with the egg yolk (or egg) and bake in the preheated over until golden brown- about 45′ (but also check note #4).
8. Remove from the oven and let cool for at least an hour before serving.